From Tool to Tip: Setting Up Your A-Frame Sign Quickly and Correctly
An A-frame sign is one of the simplest yet most effective ways to grab attention, whether outside a café, a shopfront or at an event. But as any signmaker knows, it’s not just about having the sign; it’s about making sure it’s put together properly. In this blog post from Eurotech, we’ll take a look at how to set up an Aframe so it’s secure, professional looking and ready to handle daily use. We’ll also run through some of the practical tools we’ve designed to make the process faster and easier for you and your clients.
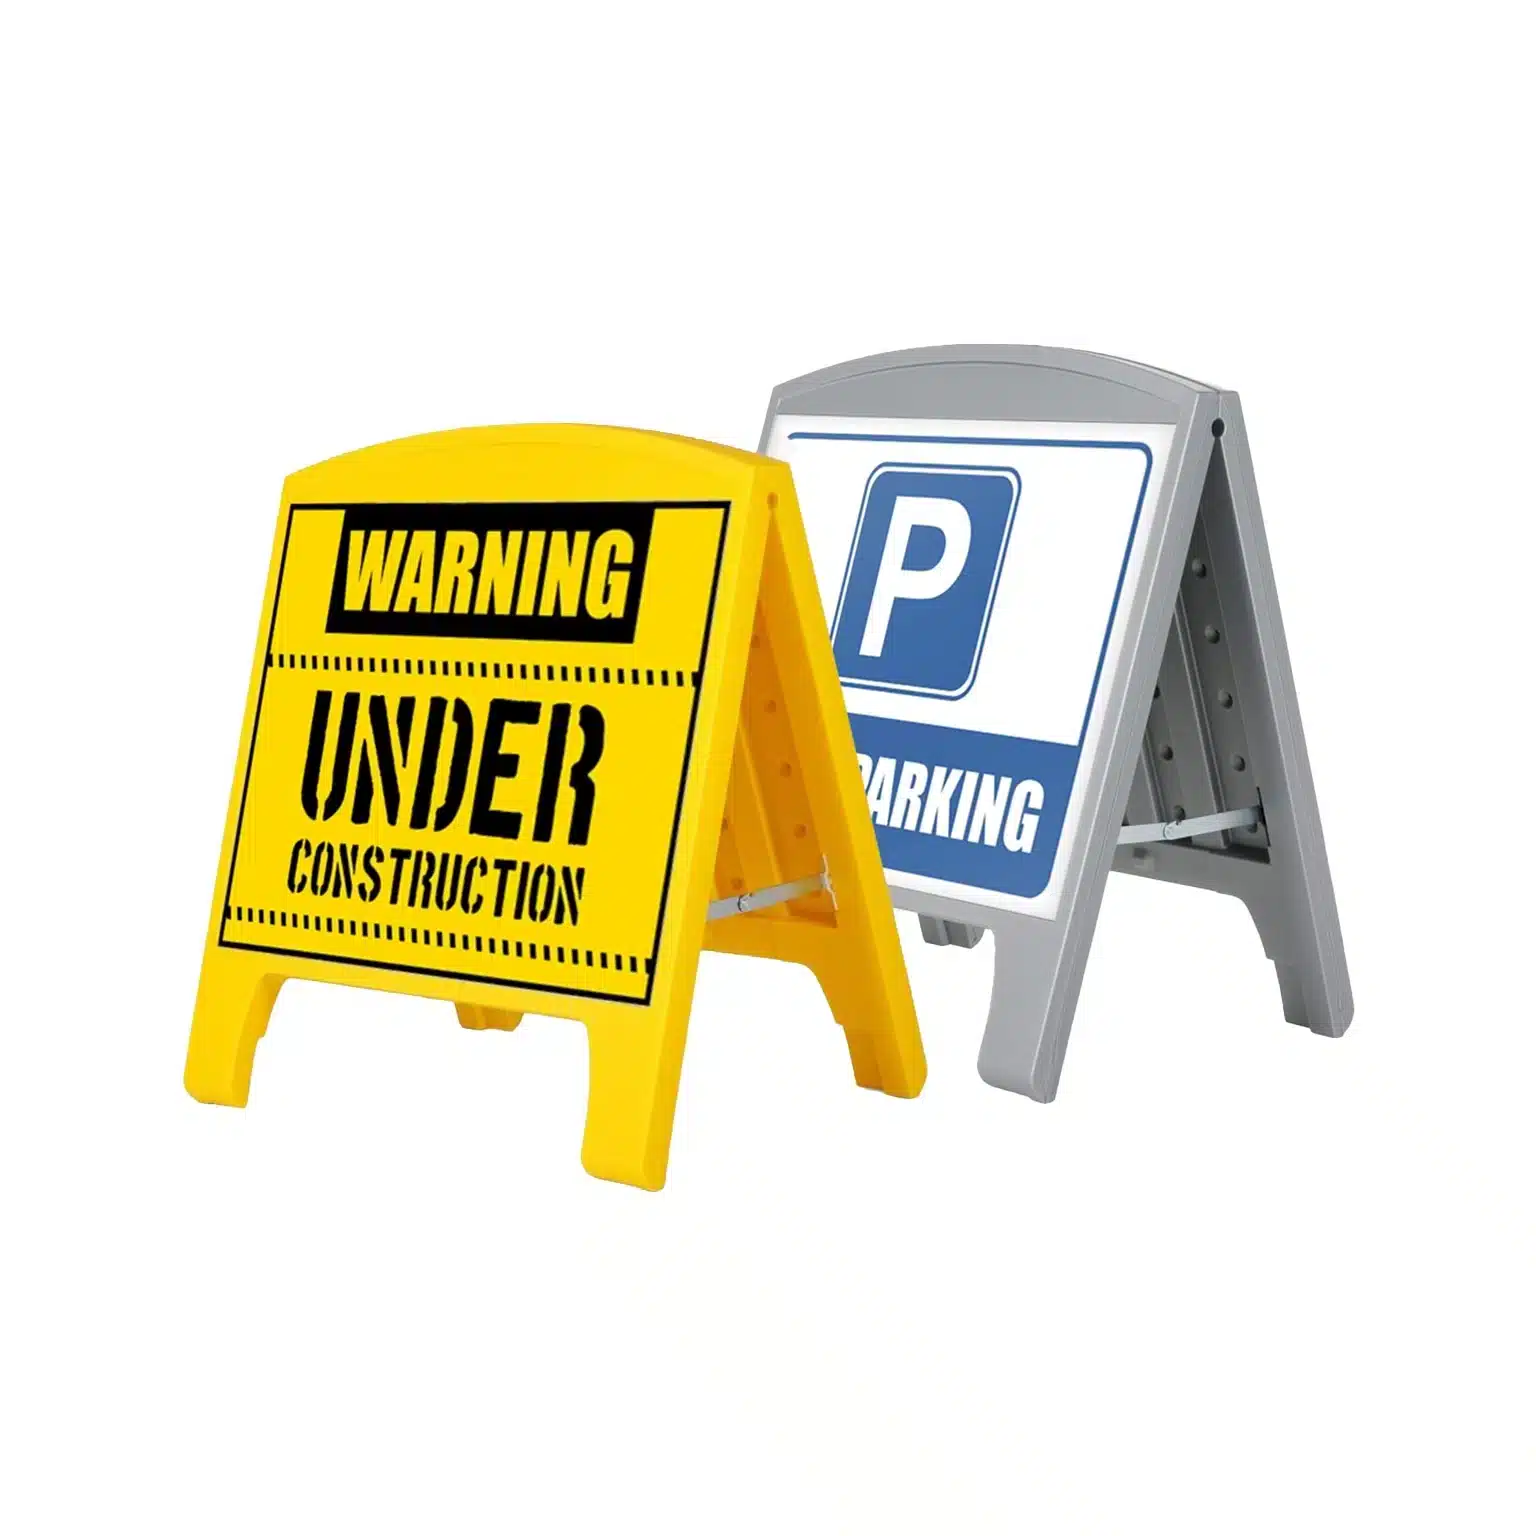
Step One: Choosing the Right A-Frame Sign
Before getting into tools, it’s worth noting that not every A frame sign is the same. Sizes and materials can vary, and the hardware used can make or break how long the sign lasts. As a wholesaler and manufacturer, we put a lot of focus on ensuring the frames we produce are durable and easy to assemble. For signmakers, this means you can count on consistency and reliability from the start. When you’re choosing a frame for a client, think about how portable the sign needs to be, whether it will be placed indoors or outdoors, and the type of graphic panels it will hold. These factors will guide the best setup method and which Eurotech accessories to use.
Step Two: Using the Right Fixings and Tools
This is where setup can either be quick and smooth, or frustrating. At Eurotech, we’ve developed a range of accessories designed to cut down setup time while keeping everything secure. A few essentials include:
- Hinges – Strong, simple to install and reliable. Our hinges are engineered to hold weight without wobbling so the sign stands straight every time.
- Hook and loop fasteners – A practical way to attach graphics that may need regular changing. They give a firm hold while still allowing panels to be swapped out quickly.
- Double sided tape – A go-to for mounting lightweight signage. Our tapes are tested to give maximum adhesion on a range of surfaces.
Having these on hand makes setup more efficient, helping you deliver a polished result for your client.
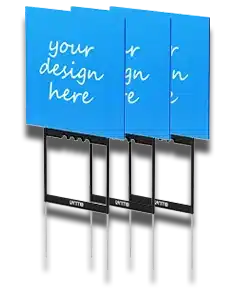
Step Three: Getting the Graphics in Place
Once the frame is ready, it’s time to add the message. Panels should be aligned neatly, free from bubbles or gaps. If you’re using adhesives, take your time to smooth everything down from the centre outwards. For hook and loop applications, check that both sides are lined up correctly before pressing into place. The key here is accuracy, as any misalignment will stand out. Our mounting solutions are designed to hold panels flush and even, which means less adjusting for you.
Step Four: Positioning Your Sign
Even a perfectly assembled A-frame sign won’t work if it’s not placed in the right spot. Think about pedestrian traffic, visibility from a distance and any local council guidelines your client must abide by. The portability of an A frame sign means it can be moved around easily, but it’s important to always make sure it’s stable and won’t be knocked over by wind or passers-by.
Quick Tips for a Smooth Setup
- Keep a small kit of adhesives, hook and loop strips and spare hinges handy for on-site jobs
- Make sure surfaces are clean and dry before applying double sided tape
- Take a step back and check the overall look before handing the sign over to your client
These simple tips can save you valuable time and avoid rework.
Register Now to Access the Full Eurotech Range
At Eurotech, we know how important it is for signmakers and printers to work with tools that get the job done quickly and correctly. To view our full range and learn more about our Aframe signs and accessories, register a free trade account with Eurotech today.